Login to your account!
Join the World's Largest Web App Marketplace!
Great to see you here!
Let’s set up your account in just a couple of steps.
Forgot password?
Enter your username or email to reset your account.
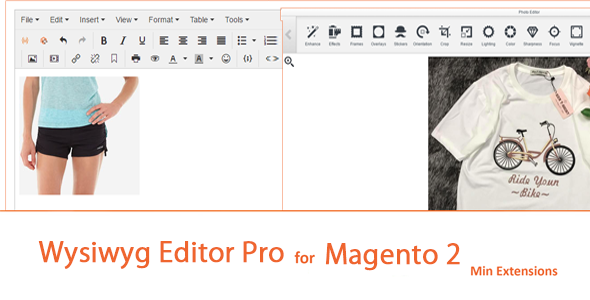
Wysiwyg Editor Pro For Magento 2
By : dangquocmin Published On Monday, April 29, 2024, 01:40 In Plugins
A) Description – top
The currently magento is using Wysiwyg editor for default, so it is not good enough for managers to insert images, resize, crop, upload … and files management quickly. And it isn’t also smart enough for image/videos files management. “Wysiwyg Editor Pro For Magento 2” extension provides many features for improving that. It based on Tinymce version: 4, and using “RESPONSIVE filemanager”. It still keeps old features, insert widget, block, variable …. ! It is very helpful for fast modification and files management.
") Key Features – top
Key Features – top
- Quickly upload image/video files with drag – drop
- Multiple upload and insert images/videos
- Auto fill image title and description by filename (support multiple files and support filename with utf-8 unicode) Also, it supports for uploading media/image screen
- Quickly resize images/videos
- Support insert magento widget, block, variable and url (same old version)
- Support any Tinymce ver 4 features
- Find, sort and provide smart view mode
- Rename, crop, resize, rotate, remove … and many features for modification image
- Allow enable/disable “Wysiwyg Editor Pro” in product page and block/cms page
C) How to install Wysiwyg Editor Pro For Magento 2 – top
As you may know, there are two most popular ways of installing magento 2 extension. The first one is to use COMMAND LINE and the send one is to install manually.
Option 1: Magento 2 install extension using COMMAND LINE (Recommended)
Wysiwyg Editor Pro can be installed in a few minutes by going through these following steps
Step 1: Download/purchase the extension
Step 2: Unzip the file in a temporary directory
Step 3: Upload it to your Magento installation root directory
Step 4: Disable the cache under System >> Cache Management
Step 5: Enter the following at the command line:
Run command bellow:
php f bin/magento setup:upgrade
Step 6: After opening Stores >>Configuration >>Advanced >> Advanced, the module will be shown in the admin panel
Option 2. Magento 2 install extension manually
Step 1: Download/purchase the extension
Step 2: Unzip the file in a temporary directory
Step 3: Upload it to your Magento installation root directory
Step 4: Disable the cache under System >> Cache Management
Edit app/etc/config.php file and three line code:
‘Min_Base’ => 1,
Min_Editor => 1,
Step 5: Disable the cache under System >> Cache Management
Step 6 : After opening Stores >> Configuration >> Advanced >>


